Reverse in behind a parked car and finish close to the kerb within about two car lengths, with common reference points, the checks examiners watch and calm ways to correct it.
Parallel parking on your test means reversing into a space behind a parked car and finishing reasonably close to and parallel with the kerb, within about two car lengths. Keep the car slow, time your steering with reference points set for your car, and look all around before and during the reverse.
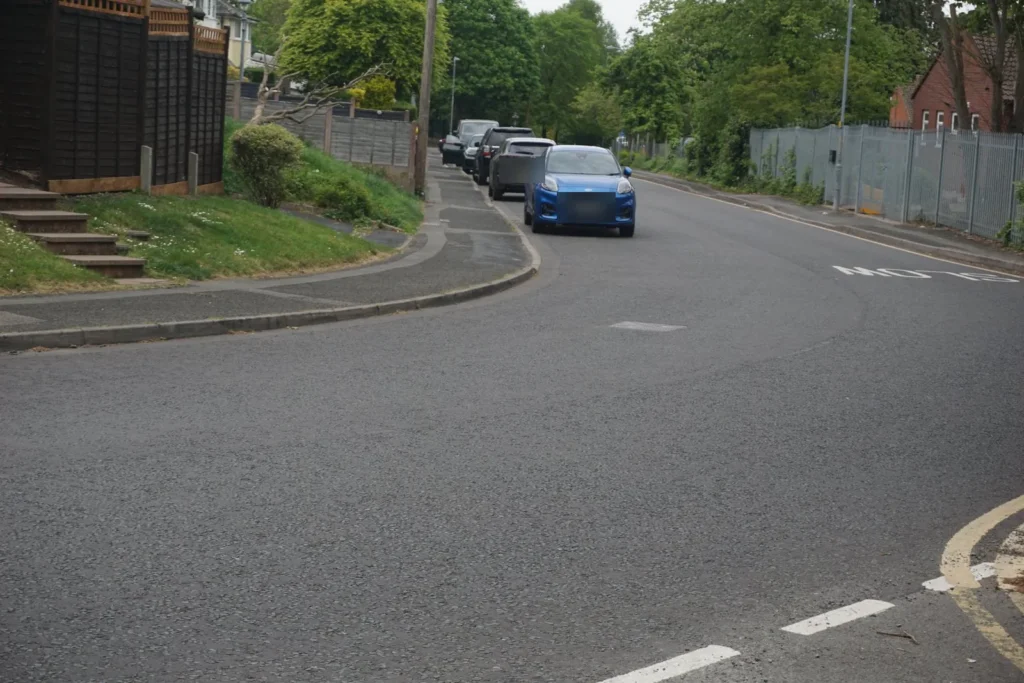
Your test includes one reversing exercise, and the examiner chooses it. Parallel parking is one option. The others are bay parking, covered in our reverse bay parking reference points, and pulling up on the right. Practise all of them.
The examiner asks you to pull up on the left well before a parked car they point out. They then explain the exercise: drive forward and stop alongside that car, reverse in, and park reasonably close to and parallel with the kerb. They finish with: “Try to complete the exercise within about two car lengths.”
Sometimes the space is between two parked cars instead, with a gap of about two car lengths. Examiners do not use cars parked on the other side of the road, so the kerb is always on your left.
Faults are recorded under the heading Reverse park from the moment you select reverse.
The steps below use reference points: a part of your car that you line up with something outside. They vary with the car and with your seat position, so treat these as a starting point. Your instructor will set the exact points for the car you take your test in.
You do not need a perfect finish. Reasonably close and parallel, under control and with good observation, is what the examiner asked for.
Many parallel parks go wrong because the car moves too fast for you to look and steer at the same time. Aim for a slow walking pace or less.
In a manual car, use clutch control. Hold the clutch around the biting point so the car creeps back, and press it down slightly if it speeds up. On a slope, use the footbrake as well.
In an automatic, the car creeps on its own once you release the footbrake. Control the speed with gentle pressure on the brake rather than the accelerator.
Turn the wheel briskly while the car moves slowly. Stalling and poor co-ordination of the controls are both listed faults.
The examiner marks observation as well as accuracy. The Highway Code tells you to look carefully before you reverse, then reverse slowly while checking all around and looking mainly through the rear window (rule 202).
Before you start, check both mirrors, both blind spots, the rear window and ahead. Then keep looking as the car moves:
If someone comes close, stop and let them pass. If a driver holds back to let you finish, carry on when it is safe.
Parking sensors and cameras are allowed on the test, but self-parking systems are not. Use them as an extra, not instead of looking: driver aids do not reduce your responsibility (rule 150). Our guide to blind spot checks and observation on your test covers the habits that help.
Examiners mark the exercise for control and observation. The examiner guidance lists these faults for reverse parking on the road:
How a fault is graded depends on what happened. Repositioning to correct a loss of control or accuracy is the guidance's example of a driving fault. Excessive repositioning after a complete misjudgement is a serious fault, and anything that causes actual danger is a dangerous fault.
You can pass with up to 15 driving faults, but a single serious or dangerous fault is a fail. Read how minor, serious and dangerous faults are marked for the full picture.
You can stop and correct your position. GOV.UK says you can carry on if you make a mistake, and that it might not affect your result if it is not serious. One calm correction is far better than touching the other car or riding up the kerb.
Stop before the tyre touches. Look all around, drive forward a short way to take the back of the car away from the kerb, then reverse in again.
Look all around, then drive forward slowly while steering left and then right, so the car moves over towards the kerb. Straighten, and reverse back into line if you need to.
Stop. Look all around, drive forward a little to open up the space, and try the reverse again.
Start every correction with fresh all-round checks, because traffic may have arrived while you were watching the kerb. Keep the shunts to a minimum: lots of back and forth is a listed fault.
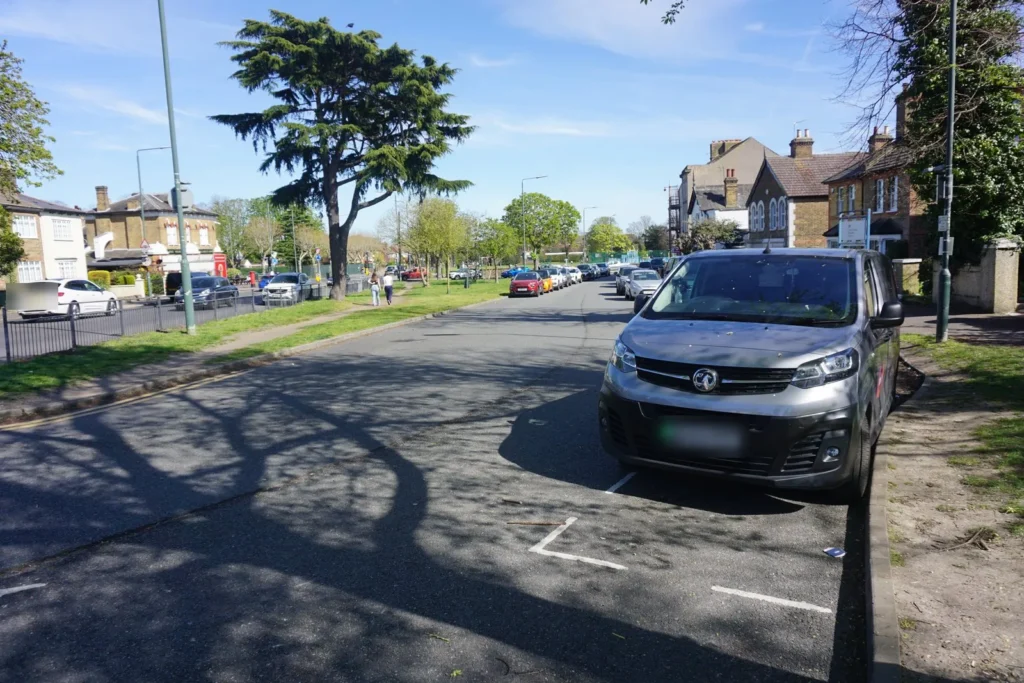
Start on a quiet street with one parked car and plenty of space. Then practise behind different vehicles, since a hatchback and a van look very different in your mirrors. Add the version between two cars, then busier roads.
When it feels routine, include it in a mock driving test so you practise it in the middle of a full drive, with nerves. You can also watch the parallel park filmed in 4K to see the steps from the driver's seat.
On the day, the parked car will be on one of the roads around your test centre. We filmed the roads around test centres across England, so you can find your test centre and see how wide those streets are and how much parking there is. Parallel parking is one part of a bigger plan for how to pass your driving test.
There is no single official one, because it depends on your car and how you sit. A common set is to stop about a door's width out, steer left when the parked car's rear appears in your rear side window, and steer right once your front is clear of it.
The examiner asks you to park reasonably close to and parallel with the kerb. Parking too far from the kerb is a listed fault, and so is brushing it.
Not necessarily. Brushing the kerb is listed as a control fault, and the examiner grades it on what happened. Mounting the pavement is also on the list, so if you feel the tyre touch, stop and correct calmly.
Yes, parking sensors and cameras are allowed, but self-parking systems are not. You still need to look all around, because driver aids do not reduce your responsibility.
About two. The examiner asks you to try to complete the exercise within about two car lengths, and a gap between two parked cars should be about two car lengths.
Last checked: 13 October 2026.
